Quick Install
Below are 12 simple steps to install your Floodcheck® Auto Valve. If you don’t feel confident carrying out this work then please contact an approved installer or plumber.
Step 1
Check and confirm the size of your pipes they should be either 15mm or 22mm for UK and most of Europe or 1⁄2 inch or 3⁄4 inch for the USA.
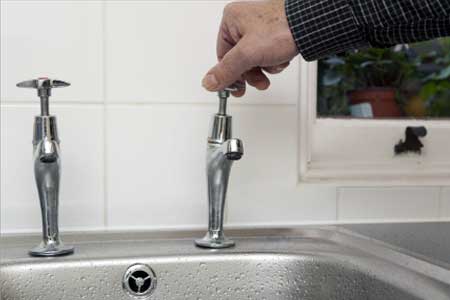
Step 2
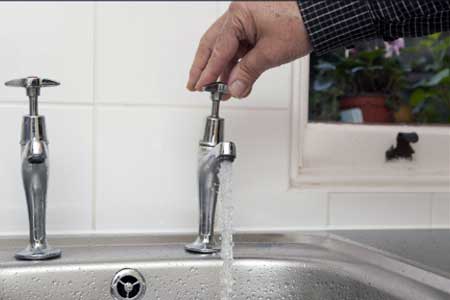
Open a cold water tap in your kitchen sink to ensure the water is on.
Step 3
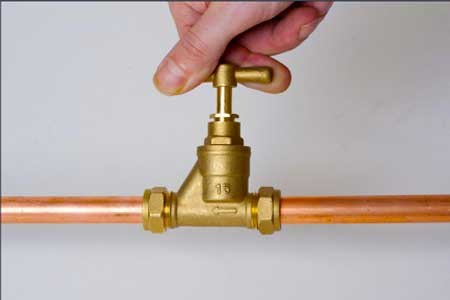
Locate and turn off your main stopcock.
Step 4
Turn a tap on again and make sure the water supply has been successfully turned OFF! Allow time for the pipes to drain.
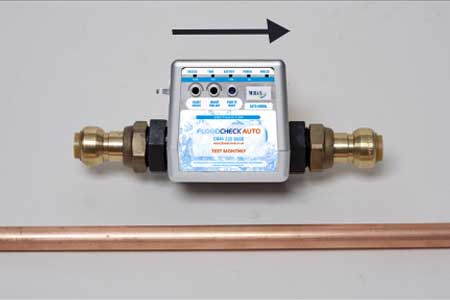
Step 5
Check the direction of flow and that you have enough room to fit the valve. You need min 200mm for 15mm and 225mm for 22mm.
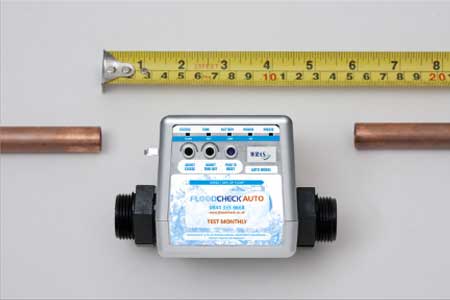
Step 6
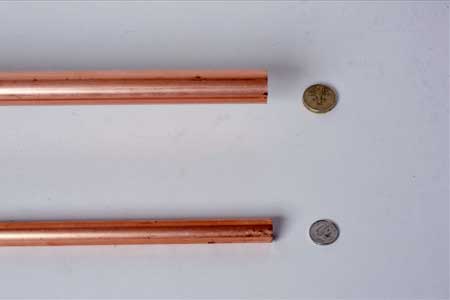
Mark the pipe 50mm (2 inches from the stopcock. Now measure 6 inches (150mm) from the mark and remove this piece of pipe. Use a pipe cutter not a hacksaw.
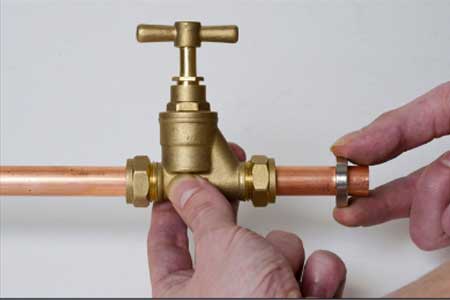
Step 7
Slacken off the nut on the dead side of the Stopcock, some water will drain out. Remove the pre-cut pipe.

Step 8
Fit the ring magnet over the pipe.
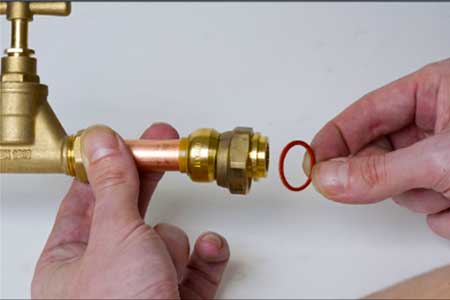
Step 9
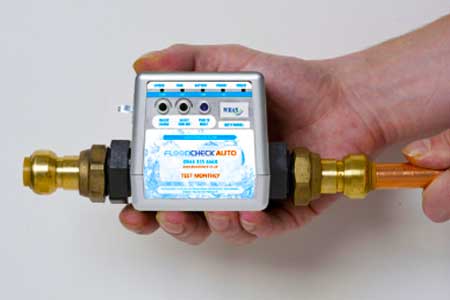
Push the pipe connectors onto the pipe, then fit the washer.
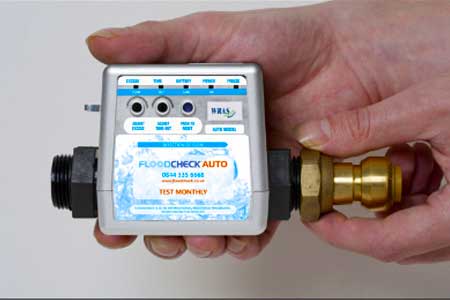
Step 10
Screw the valve on the end of the connector. Take care not to cross thread!
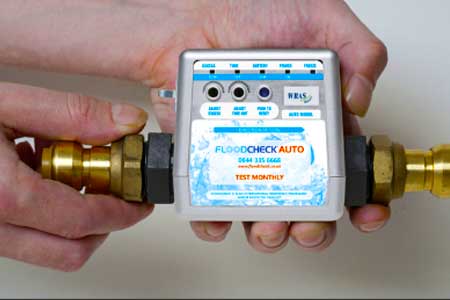
Step 11
Screw the other connector on the other end of the valve.
Important Earth Bonding link
If you have removed or disturbed the green earthing cable near your stopcock. Replace it with the Link and cable supplied in your kit. Full instructions are supplied. If in doubt contact a qualified electrician.
Step 12
Push the cut pipe into the connector. Check all nuts are tight, turn the water back on partially and check for leaks. If all OK, turn supply on as required.